One of the simplest yet most useful features in Windows Notepad is the ability to change the font style, size, and formatting. By default, Notepad uses a basic monospaced font like Consolas or Lucida Console. While it’s clean and readable, many users prefer to adjust the font for better visibility, comfort, or personal preference.
In this guide, we’ll show you how to change fonts in Notepad, customize text size, and even reset it to default — step by step. Whether you’re using Windows 10 or Windows 11, this guide covers everything you need.
Why Change the Font in Notepad?
Although Notepad is a simple text editor, the right font can make a big difference in how you read and write text. Here’s why many users like to customize fonts:
- Better Readability: A larger or clearer font helps reduce eye strain, especially for long reading or coding sessions.
- Personal Preference: Some users prefer serif fonts, while others prefer modern sans-serif or monospaced styles.
- Accessibility: Changing font size or type can help people with vision issues.
- Aesthetic Appeal: A neat font can make your notes look more polished and professional.
- Coding Convenience: Developers often prefer fixed-width fonts for alignment and code structure clarity.
So even though Notepad is simple, customizing the font can make your experience much more comfortable.
How to Change Font in Notepad (Windows 10 & 11)
Follow these steps to easily change your Notepad font settings:
Step 1: Open Notepad
Click on the Start Menu, type “Notepad,” and open it.
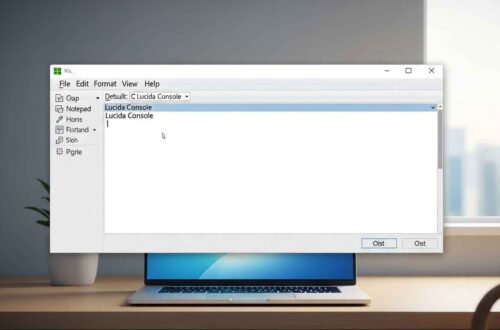
Step 2: Open the Font Settings
- On the top menu bar, click Format.
- From the dropdown menu, select Font….
You’ll see a new Font dialog box appear on your screen.
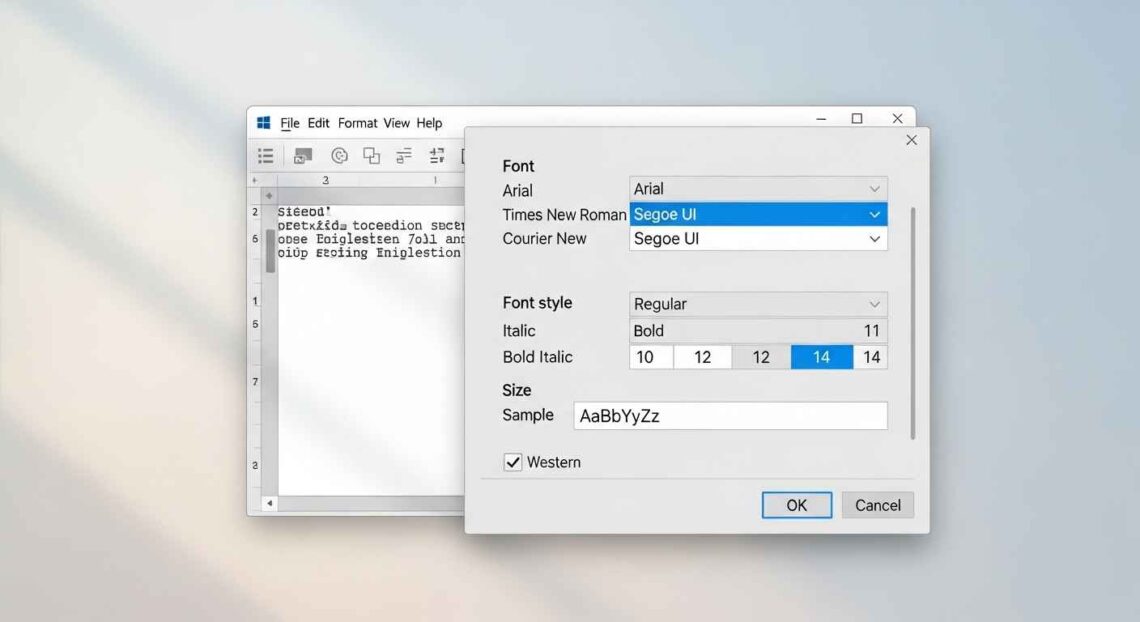
Step 3: Choose a New Font
Inside the font settings window, you can modify three key things:
- Font: Choose from the list of available fonts (like Consolas, Arial, Courier New, etc.).
- Font Style: Select Regular, Bold, Italic, or Bold Italic (depending on font availability).
- Size: Choose a size from the list (default is usually 11).
You can see a Preview box below that shows how your text will look.
Step 4: Apply the Changes
Once you’re happy with your selection, click OK.
Now your Notepad window will display the new font style and size instantly.
Example: Changing the Font in Practice
Let’s say you want to make your Notepad easier to read while writing code. You can select:
- Font: Consolas
- Style: Regular
- Size: 14
This makes your text slightly larger and more comfortable for long hours of writing or editing.
If you prefer a cleaner modern look for note-taking, try:
- Font: Segoe UI
- Size: 12
You can experiment until you find what suits you best.
Fonts Recommended for Notepad
Here are a few popular and highly readable fonts used by professionals:
| Purpose | Recommended Font | Description |
|---|---|---|
| Coding / Scripts | Consolas, Courier New, Lucida Console | Monospaced fonts ideal for alignment and syntax clarity |
| General Writing | Segoe UI, Calibri, Arial | Clean and modern fonts for comfortable reading |
| Vintage Feel | Times New Roman | Classic serif font |
| Technical Notes | DejaVu Sans Mono, Source Code Pro | Great for programming or system logs |
👉 Tip: For developers, a monospaced font (every letter takes equal space) helps keep code lines perfectly aligned.
How to Reset Notepad Font to Default
If you’ve changed your font but want to go back to the original, here’s what to do:
- Open Notepad.
- Go to Format → Font…
- Choose:
- Font: Consolas
- Style: Regular
- Size: 11
- Click OK
This restores Notepad’s default font settings.
Alternatively, if something looks wrong or unreadable, you can also reset Notepad completely:
- Go to Settings → Apps → Installed Apps → Notepad → Advanced Options → Reset
- This restores all preferences (including font) to default.
Changing Font in the New Windows 11 Notepad
The latest Windows 11 version of Notepad comes with a redesigned interface and a few extra features.
Here’s how to change fonts in the modern version:
- Open Notepad.
- Click the Settings gear icon ⚙️ at the top-right corner.
- In the Font section, you can adjust:
- Font family
- Font style
- Font size
- Changes are applied instantly — no restart required.
💡 The new Notepad automatically remembers your settings even after you close the app.
What to Do If the Font Option Is Greyed Out
Sometimes, users notice that the Font option under Format is disabled (greyed out).
Here are possible reasons and fixes:
- File Too Large: Very large files can limit formatting options. Try closing and reopening.
- Notepad Not Updated: Update Windows to the latest version to fix UI glitches.
- Corrupt Settings: Reset Notepad via app settings as shown above.
- Permission Issue: If you’re editing a system file, open Notepad as Administrator.
If none of these work, try using an alternative like Notepad++ — it supports advanced font customization and theme settings.
How Font Settings Affect Saved Files
Changing the font only affects how text appears in Notepad — it does not change the text file itself.
For example:
- If you open the same
.txtfile on another computer, it will display in that device’s default Notepad font. - The actual content remains plain text (no style, color, or formatting saved).
That’s why Notepad is considered a plain text editor — all visual preferences stay local to your system.
Pro Tip: Use Word Wrap with Custom Fonts
If you’re changing fonts to improve readability, don’t forget to enable Word Wrap:
- Go to Format → Word Wrap and check it.
This ensures that long sentences automatically adjust within the window — especially useful with larger fonts.
Advanced Users: Changing Font via Registry (Optional)
⚠️ This step is for advanced users only.
If you want to permanently set a custom font for all Notepad files, you can modify Windows Registry settings.
- Press Windows + R, type
regedit, and hit Enter. - Navigate to:
HKEY_CURRENT_USER\Software\Microsoft\Notepad - Double-click lfFaceName and enter your desired font name (e.g., Consolas).
- You can also edit iPointSize to adjust font size (e.g., 120 = size 12).
After saving changes, restart Notepad to apply.
(Make sure to back up your registry before making changes.)
Best Alternatives for More Font Customization
If you want greater control over font themes, syntax highlighting, or dark mode, try these free editors:
- Notepad++ – Full font and theme customization.
- Visual Studio Code – Offers font ligatures, dark mode, and live preview.
- Sublime Text – Modern, smooth font rendering with color schemes.
These tools are especially helpful if you’re a programmer or designer who needs more visual flexibility.
Final Thoughts
Changing the font in Notepad might sound like a small thing, but it can completely transform your writing experience. Whether you’re using it for note-taking, editing scripts, or coding — the right font improves readability, reduces eye strain, and enhances productivity.
Take a few minutes to explore different fonts, experiment with sizes, and find what feels best for your workflow. And remember, if anything goes wrong, you can always reset it back to default in just a few clicks.
So go ahead — open Notepad, click Format → Font…, and make it your own.