Notepad is one of the simplest yet most reliable text editors in Windows. But sometimes, after years of use or frequent customization — you might notice that Notepad starts behaving strangely.
For example:
- Fonts or window sizes look odd,
- Word wrap doesn’t work as before,
- Files open with strange encoding, or
- Settings don’t save properly.
When this happens, the best way to fix it is to reset Notepad back to its default settings.
This guide will explain why you might need to reset Notepad, and step-by-step methods to do it safely.
Why You Might Need to Reset Notepad
Even though Notepad is a simple app, it still stores several settings — such as font style, window size, position, and word wrap preferences — in the Windows Registry.
If any of these entries become corrupted or changed accidentally, you may experience:
- Notepad not opening properly
- Incorrect default font
- Broken layout or encoding issues
- Word Wrap turning on or off automatically
- Error messages when saving files
A reset clears all these settings, restoring Notepad to the way it was when you first installed Windows.
What Happens When You Reset Notepad
When you reset Notepad:
✅ All personalized settings (like custom fonts, zoom levels, or window sizes) are deleted.
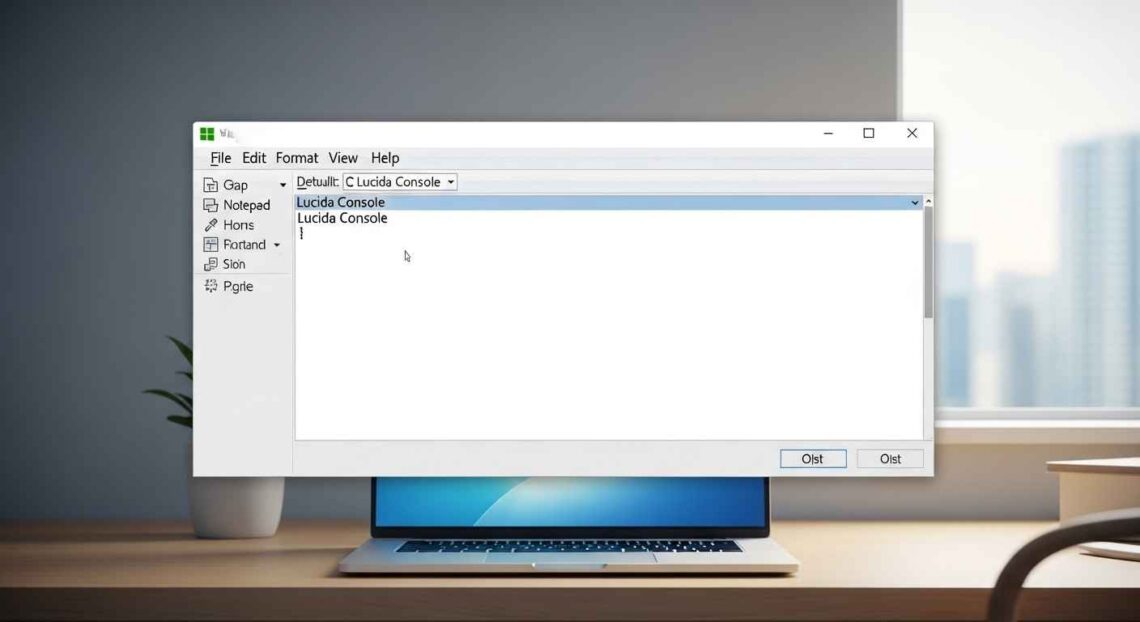
✅ Default font reverts to Lucida Console (10pt).
✅ Word Wrap returns to Off by default.
✅ Status Bar visibility resets.
✅ The registry keys related to Notepad are cleared or recreated.
It does not delete any of your saved files — only the app settings.
Method 1: Reset Notepad via Registry Editor
This is the most effective method. Here’s how to do it step by step:
Step 1: Open the Registry Editor
- Press Win + R on your keyboard to open the Run dialog box.
- Type
regeditand press Enter. - Click Yes if Windows asks for permission (UAC prompt).
Step 2: Locate the Notepad Registry Key
Navigate to this path:
HKEY_CURRENT_USER\Software\Microsoft\Notepad
You can paste it directly into the address bar in Registry Editor for quick access.
Step 3: Delete the Notepad Key
- Right-click on the Notepad folder in the left sidebar.
- Click Delete.
- Confirm the action when asked.
This will remove all stored preferences and configurations for Notepad.
Step 4: Close and Reopen Notepad
Now, close the Registry Editor and restart Notepad.
🎉 You’ll notice it has reverted to default — clean, fresh, and as good as new.
Method 2: Reset Notepad Using Windows Settings (Windows 10 & 11)
If you’re using Windows 10 or 11, you can reset Notepad easily through the Settings app.
Step 1: Open Settings
- Press Win + I on your keyboard.
- Go to Apps → Installed Apps (or “Apps & features” in older versions).
Step 2: Find Notepad
- Scroll down the list or use the search bar to find Notepad.
Step 3: Reset Notepad
- Click the three-dot menu (⋮) beside Notepad.
- Choose Advanced Options.
- Scroll down and click Reset.
Windows will delete all app data and restore Notepad’s default configuration.
Method 3: Using Command Prompt or PowerShell
For users who prefer command-line tools, here’s a quick PowerShell command to reset Notepad automatically.
Step 1: Open PowerShell as Administrator
- Press Win + X and select Windows PowerShell (Admin).
Step 2: Run the Command
Copy and paste the following command:
Remove-Item -Path "HKCU:\Software\Microsoft\Notepad" -Recurse -Force
Then press Enter.
This command deletes all Notepad registry data for your user account.
Step 3: Restart Notepad
Once you open Notepad again, it will recreate its default settings.
Method 4: Reinstall Notepad via Microsoft Store
If resetting doesn’t fix the problem, reinstalling can help — especially on Windows 11, where Notepad is a standalone app.
Steps to Reinstall:
- Open Settings → Apps → Installed Apps.
- Find Notepad, click the three-dot menu, and choose Uninstall.
- After uninstalling, open the Microsoft Store.
- Search for “Windows Notepad”.
- Click Install.
Once installed, open it — it’ll be fully refreshed with clean settings.
Method 5: Create a Registry Backup (Before Resetting)
It’s always smart to back up your registry before deleting anything.
To back up:
- In Registry Editor, select the Notepad folder (
HKEY_CURRENT_USER\Software\Microsoft\Notepad). - Click File → Export.
- Save the backup with a name like
NotepadBackup.reg.
If you ever want to restore old settings, just double-click the saved file to re-import it.
Restoring Default Font and Word Wrap Manually
If you only want to reset font or word wrap instead of doing a full reset:
Reset Font
- Open Notepad.
- Go to Format → Font.
- Select Lucida Console, Regular, and Size 10.
- Click OK and restart Notepad.
Reset Word Wrap
- Go to Format → Word Wrap.
- Make sure it’s unchecked for the default layout.
Tips to Keep Notepad Running Smoothly
- Don’t install unnecessary extensions or replace system files.
- Keep your Windows updated — it automatically updates Notepad too.
- Use UTF-8 encoding for modern text compatibility.
- Back up important
.txtfiles regularly.
Common Issues Solved After Reset
After a successful reset, users typically notice:
✅ Faster app loading time
✅ Proper font size restored
✅ Word wrap behaving correctly
✅ Default file encoding fixed
✅ No more window size or position bugs
When Reset Doesn’t Work
If Notepad is still misbehaving after all methods:
- Make sure Windows System Files are not corrupted.
- Run the System File Checker (SFC) by typing the following in Command Prompt (Admin):
sfc /scannowThis checks and repairs missing or broken system files.
Final Thoughts
Resetting Notepad to default is an easy but powerful way to fix all its small issues. Whether your fonts look weird, encoding fails, or settings don’t save — a quick registry reset or Settings reset usually solves it instantly.
It’s a good maintenance step to perform once in a while, especially if you frequently modify settings or use Notepad for coding.
After resetting, you’ll get back the clean, minimal, and distraction-free Notepad experience that Windows users have loved for decades.